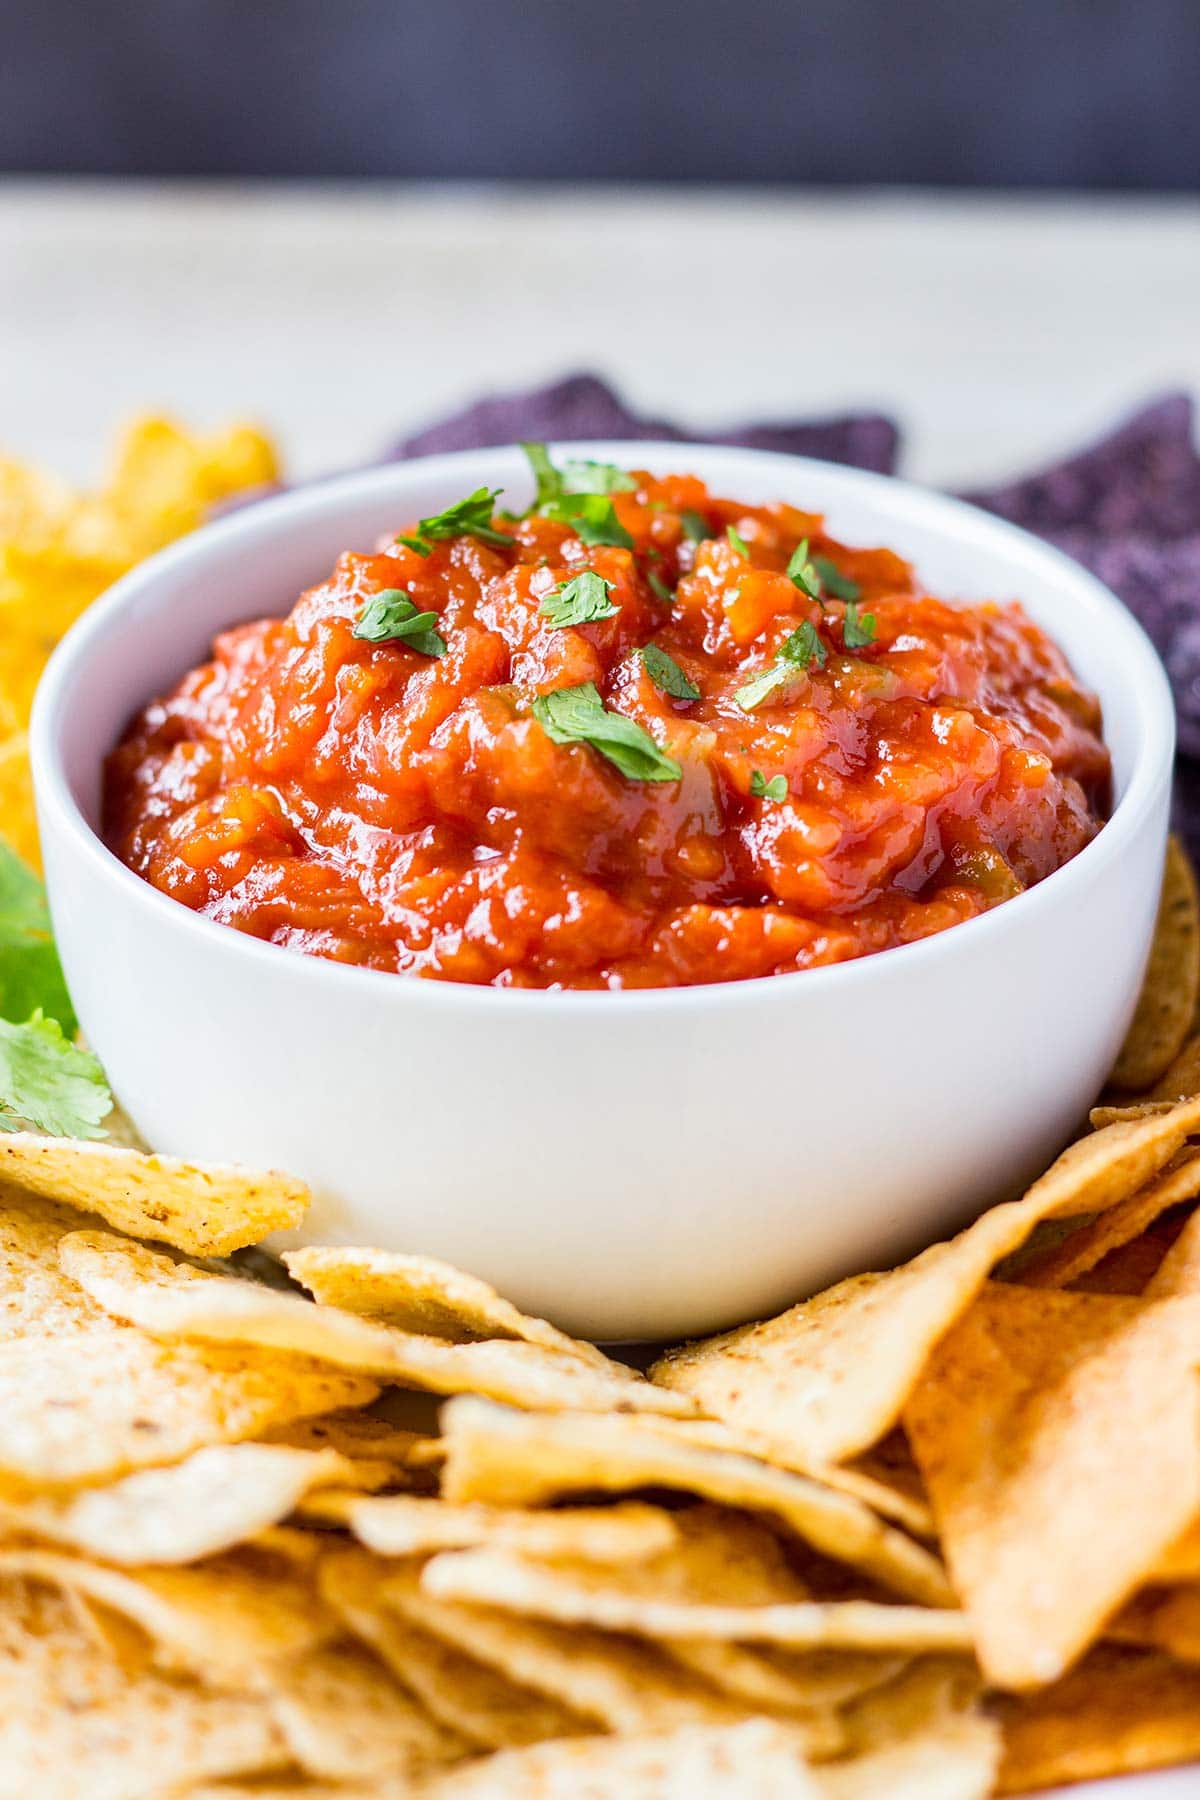
Easy Freezer Salsa Recipe (No Canning!)
This easy freezer salsa is a delicious treat that you can pull out any time from your freezer – no need to can it! You will be amazed at how easy and simple this salsa is to make. Definitely a family favorite at our house!
Make-Ahead Freezer Salsa
This easy recipe for making your own homemade freezer salsa is not only a great way to use up the bounty of a plentiful tomato season, along with onions and peppers from your garden, it’s also very versatile and customizable since you don’t need to can it!
By investing a little time and effort up front, you can enjoy the convenience of having flavorful salsa ready to go whenever you need it.
This is seriously the best way to use up your garden produce AND be able to save those flavors at the peak of freshness – no canning involved!
Ingredients for Freezer Salsa
In order to get the best results out of this easy freezer salsa recipe, it’s best to start with fresh ingredients whenever possible, to get the best flavor.
Doing so will give this easy homemade salsa recipe a leg up on store-bought salsa from the grocery store.
You’ll need to gather a few simple ingredients:
- tomatoes: Use homegrown tomatoes here if you’ve got them, but if not, you can use canned tomatoes. Roma tomatoes work find in this recipe. You can also use cherry tomatoes (skip the peeling and de-seeding and just give them a quick buzz in your food processor to get your desired consistency).
- bell peppers: I use green for the extra color, but you can use red bell peppers here if you’ve got them.
- onions: I use yellow onions, but white onions will also work.
- jalapeño peppers
- canned tomato paste
- can of condensed tomato soup
- vinegar
- lime juice
- sugar
- garlic salt
- garlic powder
- cayenne pepper
If you like to really bring the heat, feel free to add in other varieties of hot peppers.
One of the best things about doing a cooked salsa to freeze rather than can is that you do not have to adhere to any specific acidity levels or ingredient ratios for safety.
Note: This fresh salsa recipe makes a fairly big batch (about 10 cups worth) so you’ll need to plan accordingly for large pot and bowl sizes.
Making Your Easy Freezer Salsa
For this easy salsa recipe, you’ll start by peeling and de-seeding your tomatoes if you are using fresh ones.
Although it’s an extra step (or five…), the easiest way to peel your tomatoes is with the “blanch into ice bath” method.
So, to get started, fill a large pot or Dutch oven 2/3 full of water (at least a few inches deep) and heat it over medium-high heat until it comes to a boil. (Blanching the tomato quickly in boiling water helps to separate the skin from the flesh and make it easier to peel off.)
While the water is coming to a boil, fill a large bowl with several inches of water and a few cups of ice to form an ice bath. (This will be used to stop the tomato from cooking after being in the boiling water.)
It’s a good idea to use a pair of tongs or a spider skimmer when transferring the tomatoes in and out of the boiling water and ice bath.
You need to protect those fingers so they can do some serious dipping of chips into your salsa later on when you put your feet up and enjoy all your hard work!
To peel your fresh tomatoes:
- Cut a small shallow “X” in the bottom of each tomato with a small paring or tomato knife.
- Carefully place the tomato into the boiling water and allow it to sit for 45-60 seconds until the skin starts to peel back and wrinkle where you cut it.
- Remove the tomato out of the boiling water with tongs or a spider skimmer and place it directly into the ice bath for a minute or two.
- You should now be able to easily pull the skin off the tomato starting at the bottom where you made the cuts.
- Repeat these steps until you have processed all of your tomatoes. (You can do several tomatoes at a time if your pot and bowl are big enough.)
Next, to de-seed, cut your peeled tomatoes in half around the “equator” line (not through the blossom/stem ends).
Squeeze each half over the sink or a bowl to squeeze out the seeds. You don’t need to get them all out, just as many as you reasonably can.
Don’t worry if your sort of crush the tomatoes.
Place your peeled and de-seeded tomatoes and pulse them in a food processor for a few seconds per batch to roughly chop them.
Stop after just a few seconds if you like a chunky salsa, or pulse for a bit longer if your prefer a smoother salsa. Totally up to you.
Next, chop your bell peppers and onions (you can do these in the food processor too if you want).
Now, to prepare the jalapeño peppers:
- WEAR GLOVES! Be very careful NOT to touch your face or eyes while working with the jalapeños – the capsaicin oils can transfer from your hands and irritate skin or burn eyes.
- Cut open the jalapeño peppers longways and scoop out the seeds and membranes.
- Cut the peppers into long strips and then finely dice the strips.
- Discard seeds and membranes, carefully wash your cutting board and knife, and then turn your gloves inside out as you pull them off your hands so you don’t touch the outside surface, and throw them away.
Place all of your ingredients into a large stock pot or Dutch oven and bring the mixture to a boil.
You’ll want to give it a taste test and adjust your seasonings according to your preferences.
Achieving the perfect balance of flavors is key to a delicious salsa. If your salsa tastes too acidic for your liking, add a bit of sugar to balance it out. If it’s too milk, add a bit more lime juice or salt.
Once it is boiling, reduce the heat and simmer uncovered for 35-45 minutes.
Exact time will depend on your personal preference for how thick you like your salsa. A longer simmer time means a thicker salsa.
When you’ve reached your desired consistency, remove your salsa from the heat and allow it to cool.
Successfully Freezing Your Salsa
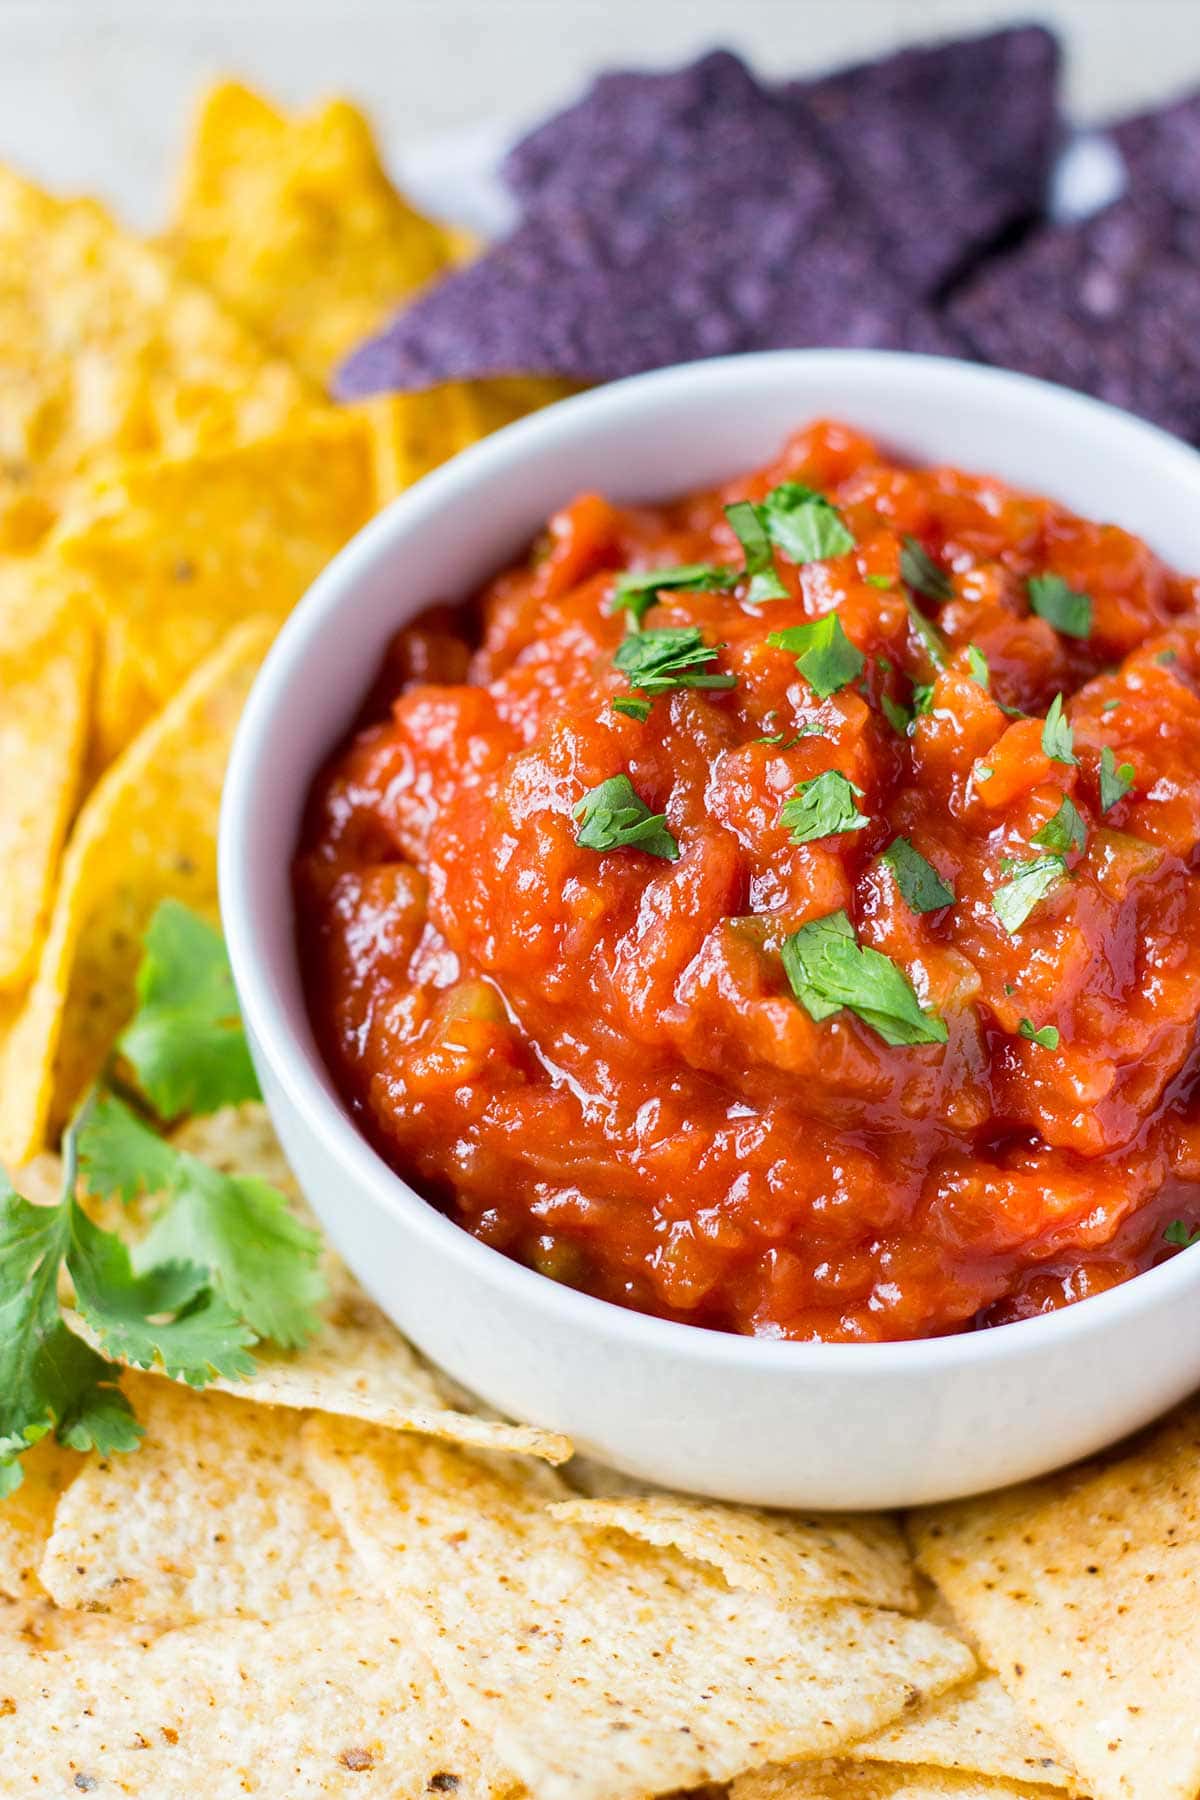
We’ll get this out of the way right up front – Yes, salsa freezes!
And yes, it comes out of the freezer tasting fresh and delicious. Better than the jarred stuff. In fact, you likely will not even be able to tell it was ever frozen to begin with!
So, once your salsa has cooled to room temperature, you can divide it into individual servings, smaller batches for recipes, or keep it in a few larger batches.
If you have recipes that only call for a tablespoon or two of salsa, you can freeze your salsa in ice cube trays and then once frozen, pop the frozen salsa cubes out and put them in a freezer bag.
For smaller batches, I prefer to use a small freezer-safe container. Fill your freezer container mostly full but leave a small amount of headspace for expansion when freezing.
For larger batches, I like to use a freezer bag. They are easier to store and often take up less freezer space than rigid plastic containers.
Lay your bag flat (a baking sheet or tray works well here) for several hours or overnight until frozen. You can move the bag once it is a frozen and stack it upright in the freezer to save space. You can also stack it upright in freezer bins for better organization!
Be sure to label your container or bag with the contents and date.

Proper Thawing and Storing
When you’re ready to enjoy your salsa or use it in a dish, remove the container or bag from the freezer and allow it to thaw overnight in the refrigerator.
Thawing gradually will help maintain the salsa’s texture and flavor.
Avoid thawing salsa at room temperature to prevent bacterial growth.
For best results, plan to use your salsa within 3 to 4 months. It will be safe to eat after that, but the taste or texture may start to degrade a bit.
Thawed salsa can be kept in the refrigerator for 5 to 7 days. To ensure the salsa stays fresh for as long as possible, store it in an airtight container and keep it at 40 degrees Fahrenheit or below.
Ways to Use Your Freezer Salsa Stash
I doubt you’ll have any trouble coming up with ways to use your tasty salsa, but just in case, here are some simple tips and suggestions:
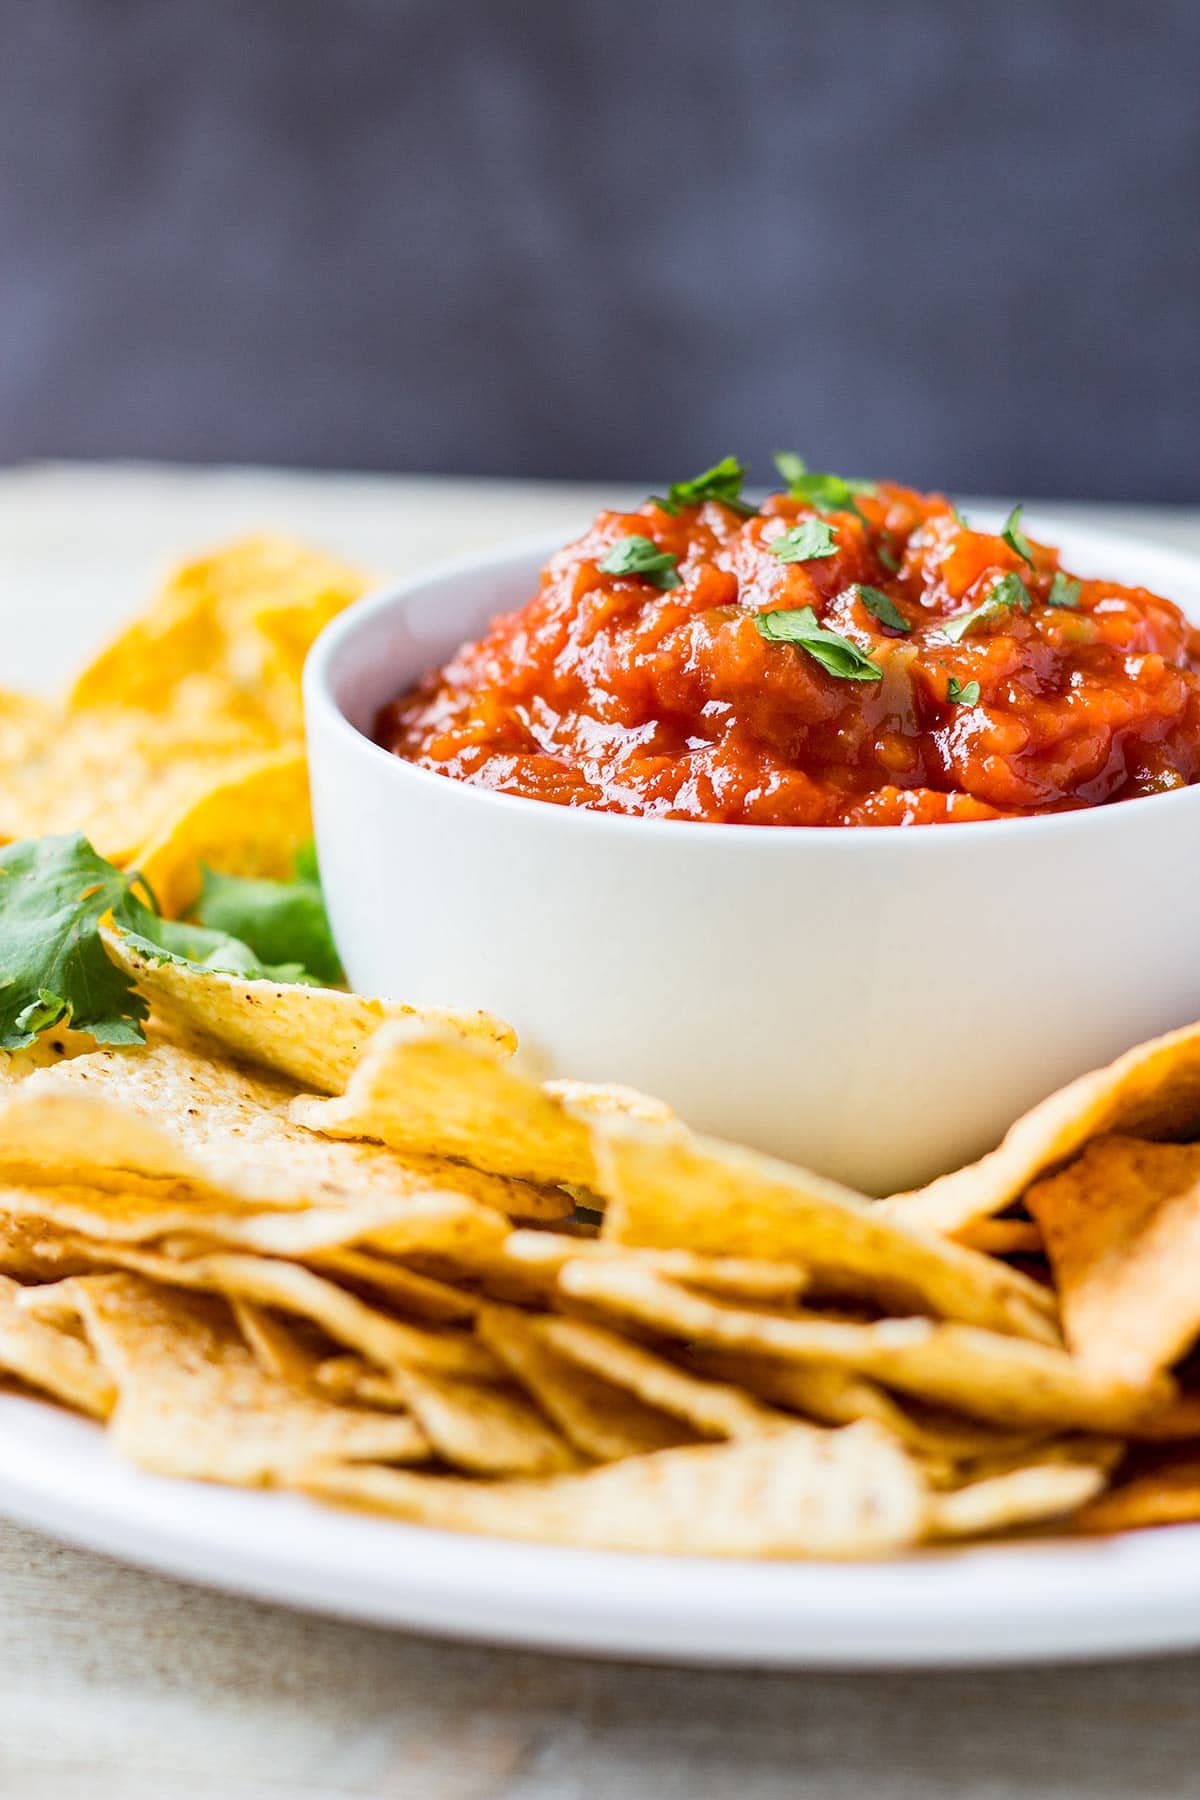
- Classic chips and salsa: There’s nothing quite like this classic combination for snacking! Serve your salsa with tortilla chips, pita chips, or even veggie sticks for a healthier option.
- Add a burst of flavor to your favorite Mexican dishes: Tacos, burritos, and quesadillas are already delicious, but imagine how much better they could be with some of your homemade freezer salsa! Use your salsa to make:
- Topping or dipping: Use your amazing salsa as a topping for a fabulous Copycat Cafe Rio Chicken salad, or add it as a dip option for Chicken Bacon Ranch Taquitos or Make-Ahead Breakfast Burritos!
This make-ahead freezer salsa is not just a time-saver; it’s a flavor enhancer, too!
Elevate your meals with the burst of fresh flavors and vibrant colors that only homemade salsa can provide.
FAQs
Yes, you can freeze salsa! It’s a great way to preserve its freshness and flavor for an extended period. Just make sure to use an airtight container or a freezer-safe bag to prevent freezer burn and maintain quality.
This freezer salsa can be stored for up to 6 months in the freezer without compromising its quality. However, for the best flavor and texture, you’ll want to use it within 3 to 4 months.
To thaw your frozen salsa, transfer it from the freezer to the refrigerator and let it thaw overnight. This gradual process helps to maintain texture and flavor. Avoid thawing it on the countertop as it can lead to bacterial growth.
I don’t recommend refreezing the salsa once it has been thawed. Each time your freeze and thaw the salsa, it will affect the texture and taste. It’s best to portion your salsa into small containers or freezer bags before freezing to that you can thaw only what you need.
The original recipe for this salsa came from an old Taste of Home magazine.

Easy Freezer Salsa
INGREDIENTS
- 10-12 large tomatoes diced, seeded and peeled (about 8 cups)
- 2 green bell peppers diced
- 2 large onions diced
- 2 jalapeno peppers seeded and finely diced
- 2 6 oz cans tomato paste
- 1 10 oz can condensed tomato soup
- 1/3 cup white vinegar
- 1/3 cup lime juice
- 2 tablespoons sugar
- 1 1/2 tablespoons salt
- 1/2 tablespoon garlic salt
- 1 1/2 tablespoons garlic powder
- 1-3 teaspoons cayenne pepper
INSTRUCTIONS
- Peel tomatoes by cutting a small shallow “X” in the bottom, then placing in boiling water for 45-60 seconds until skin starts to peel back and wrinkle. Remove from boiling water and place into ice bath for 1-2 minutes. Then skin should easily peel off.
- Remove seeds by taking peeled tomatoes, cutting in half along the equator (not through the blossom/stem end) and squeezing over sink or bowl.
- Pulse tomatoes in food processor to roughly chop.
- Dice or chop bell peppers and onions.
- Wearing plastic gloves, cut open the jalapeno peppers longways and scoop out seeds. Then dice finely. (See note)
- Place all ingredients into a large stock pot. Bring to a boil.
- Reduce heat and simmer uncovered for 35-45 minutes, depending on how thick you like your salsa. (I like mine thicker, so I simmer for almost the full time.)
- Remove from heat and allow salsa to cool. Ladle into freezer containers or freezer bags. Label containers and place in freezer.


Was a success got good compliments. Had just the right amount of kick.